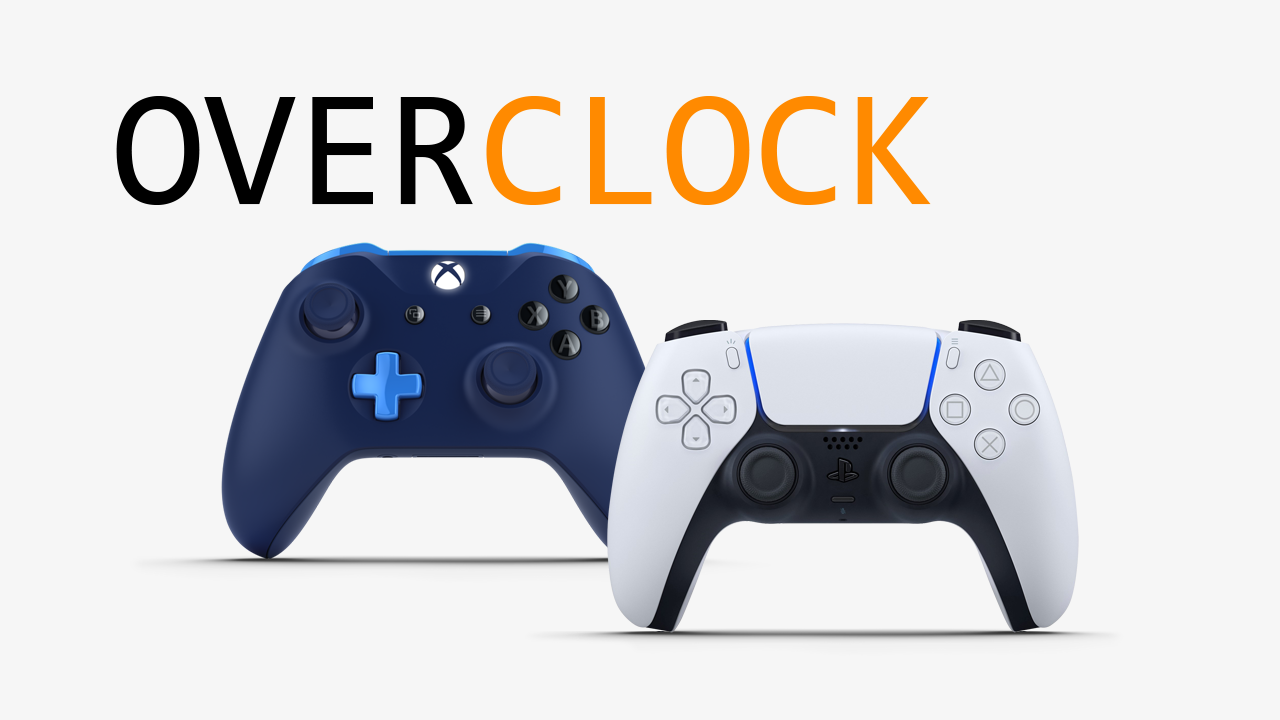
If you are looking for a way to get even better performance out of your Xbox or Playstation controller when it is connected to your PC. This article will show you how to overclock your controller. Yes, that's right, you can actually overclock your gamepad/controller on Windows PCs. And surprisingly it makes a huge difference.

Table of Contents
Related: How to fix Apex Legends Prediction error | Fix Apex Legends red lag icon.
Although everyone brags that gaming on PC is better than consoles because a keyboard and mouse is the superior method of control. There are a lot of people who still prefer to play games on PC using a controller. I for one, like most people I know, sit right in the middle. Some games are better with a controller and some games are better with a mouse and keyboard.
RPGs and games like the Witcher 3, Horizon Zero Dawn, Assassins Creed, and most other open-world RPG titles are 10 times better when played using a controller over a mouse and keyboard. However, you can make the experience even better by overclocking your controller. I know it sounds hard to believe but it is actually a thing and something that works amazingly well by reducing input lag. Input lag that you probably didn’t know you had. Before you jump into the steps below, make sure you have a cable ready to connect your controller to your computer for this process.
IMPORTANT: Some people have said this can cause issues with COD anti-cheat but that isn't confirmed it's just rumoured but you may still want to use this at your own risk. Perhaps test it on a throwaway account first.
How do you overclock your controller on PC (No Input Lag)? Overclock Dualshock or Xbox controller on PC.
By default, most controllers connected to Windows operating systems will get a 5milisecond response time. Which is reasonable but not the greatest so we’re going to get that down to 1ms.
- To do this, head on over to the following GitHub page and download the hidusbf.zip file. https://github.com/LordOfMice/hidusbf
- Once you have the file extract the file where you want to keep it. Connect your controller to your computer via the USB cable.
- Now go to the location and enter the DRIVER folder. Here you will see a file called Setup.exe, double-click this to open the tool.

- When the tool opens it will default to detecting mice, so you will need to change the devices section to All.

- This will show all the devices connected to your computer. Now you need to find your controller. For Xbox controllers, it will be listed as an Xbox Controller. For some other devices, you will need to use the Child Name (s) section to find your device which will state if it is a controller.
- Now highlight the controller in the Child Name(s) section and click Install Service.

- Once it has been installed change the drop-down menu next to Selected Rate to 1000, then click Install Service again to make the change.

- Finally, place a tick in the Filter On Device check box, then click Install Service again.

- Now unplug your controller wait 3 seconds then plug it in again.
- When you connect your controller again it should show 1000 next to Rate and 1 next to bInterval.

Ok! So now what happens?
Now that you have made all of the changes above successfully, you can start using your controller as you normally would. You don’t have to keep this program running in the background. It will stay in effect forever unless a Windows Update or something similar decides to reset it. So if you do notice your response times slow down a little bit you need need to run through the same steps again.
