If you've been keeping up with the controversy surrounding Firefox's recent privacy and user policy updates, you might feel that they've strayed from their once-strong commitment to user privacy. However, after experts analyzed their official statement, it seems the situation was more of a marketing misstep than a true policy shift. That said, if you're still not reassured by their response and want a more privacy-focused alternative, follow the steps below to migrate from Firefox to LibreWolf quickly and easily.

Takeaways:
- How do you move everything from Firefox to LibreWolf?
- What's the best browser to use instead of Firefox?
- Learn how to migrate from Firefox to LibreWolf.
Table of Contents
How to Migrate from Firefox to LibreWolf
Moving from Firefox to LibreWolf isn't all that complicated and follows a similar process that most other browsers do.
Download LibreWolf:
- Visit the official LibreWolf website
-
Navigate to the Installation section.
-
Choose the version for your operating system (Windows, macOS, Linux)
Install LibreWolf:
-
Open the installer and follow the on-screen instructions.
-
Once installed, create a desktop shortcut for easy access.
-
Launch LibreWolf—it comes pre-installed with only uBlock Origin and no additional trackers.
Transferring Data from Firefox to LibreWolf
There are two ways to transfer your data: using Firefox Sync or manually copying profiles. Using Firefox Sync is going to be the easiest method but if that isn't something you want to do, you can opt to use the manual option instead.
OPTION 1: Using Firefox Sync
- Enable Sync in Firefox:
-
Open Firefox.
-
Click the menu button in the top-right corner.
-
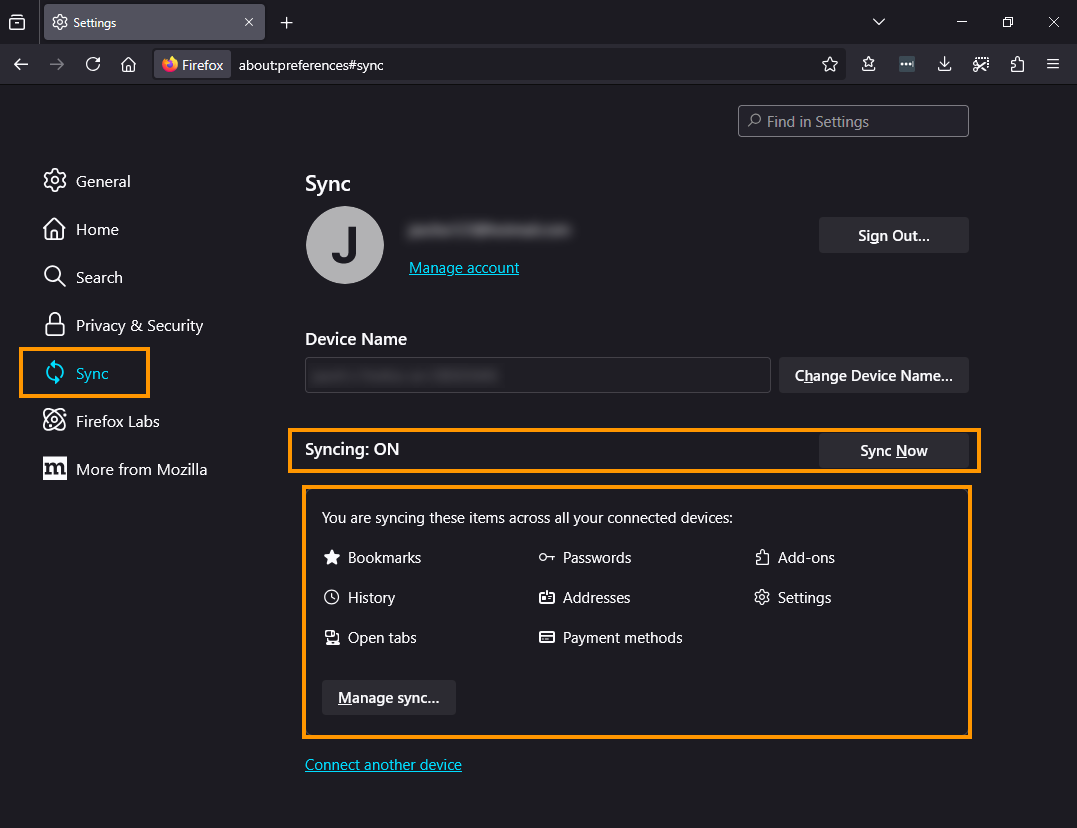
Go to Settings > Sync.
-
Sign in with your Mozilla account and enable Firefox Sync.
-
Make sure that all required data (bookmarks, passwords, history, etc.) is checked.
-
Click Sync Now to upload your data.
-
Enable Sync in LibreWolf:
-
Open LibreWolf.
-
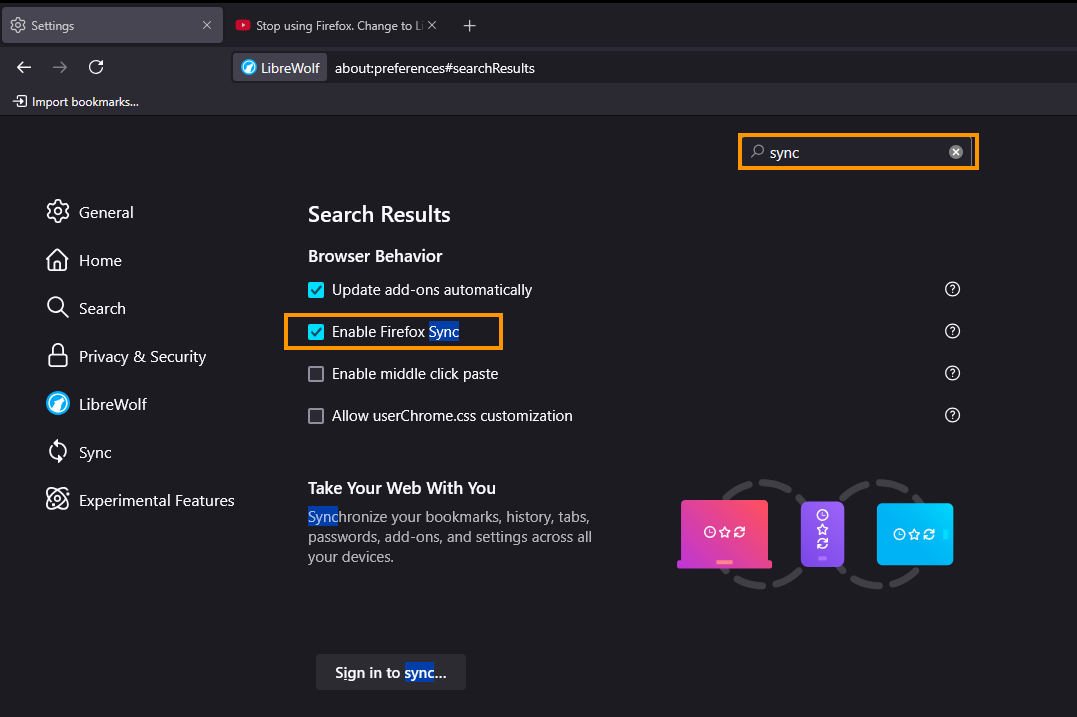
Go to Settings and search Sync.
-
Here make sure the Enable Firefox Sync checkbox is enabled then Restart LibreWolf.
-
Now go to Settings > Sync.
-
Sign in with the same Mozilla account.
-
Click Sync Now and wait for your data to be transferred.
Note: While this method transfers most data, it does not migrate active logins (you’ll need to re-login to websites manually).
OPTION 2: Manually Copying Your Firefox Profile (Way More Work)
If you prefer a more direct method, manually copying your Firefox profile ensures that all your settings, extensions, and logins are transferred.
-
Open Firefox and type about:profiles in the address bar.
-
Identify the profile currently in use (marked as "This profile is in use and cannot be deleted").
-
Open both the Root Directory and Local Directory.
-
Locate Your LibreWolf Profile:
-
Open LibreWolf and type about:profiles in the address bar.
-
Open the Root Directory and Local Directory.
-
Close LibreWolf completely.
Copy Firefox Data to LibreWolf:
-
Rename LibreWolf’s profile folders by adding -backup to their names.
-
Copy both the Root Directory and Local Directory from Firefox to the corresponding LibreWolf folders.
-
Rename the copied Firefox profile folders to match LibreWolf’s original profile names.
-
Restart LibreWolf:
-
Launch LibreWolf.
-
Your bookmarks, history, extensions, and logins should now be fully migrated.
Note: Some minor settings may not transfer perfectly due to LibreWolf’s privacy-focused adjustments.
Importing Saved Passwords (if needed)
If your saved passwords do not transfer automatically, you can manually export and import them:
Export from Firefox:
-
Open Firefox.
-
Go to Settings > Passwords.
-
Click the three-dot menu and select Export Passwords.
-
Save the CSV file securely.
Import to LibreWolf:
-
Open LibreWolf.
-
Go to Settings > Passwords.
-
Click the three-dot menu and select Import from a file.
-
Choose the CSV file you saved earlier.