Table of Contents
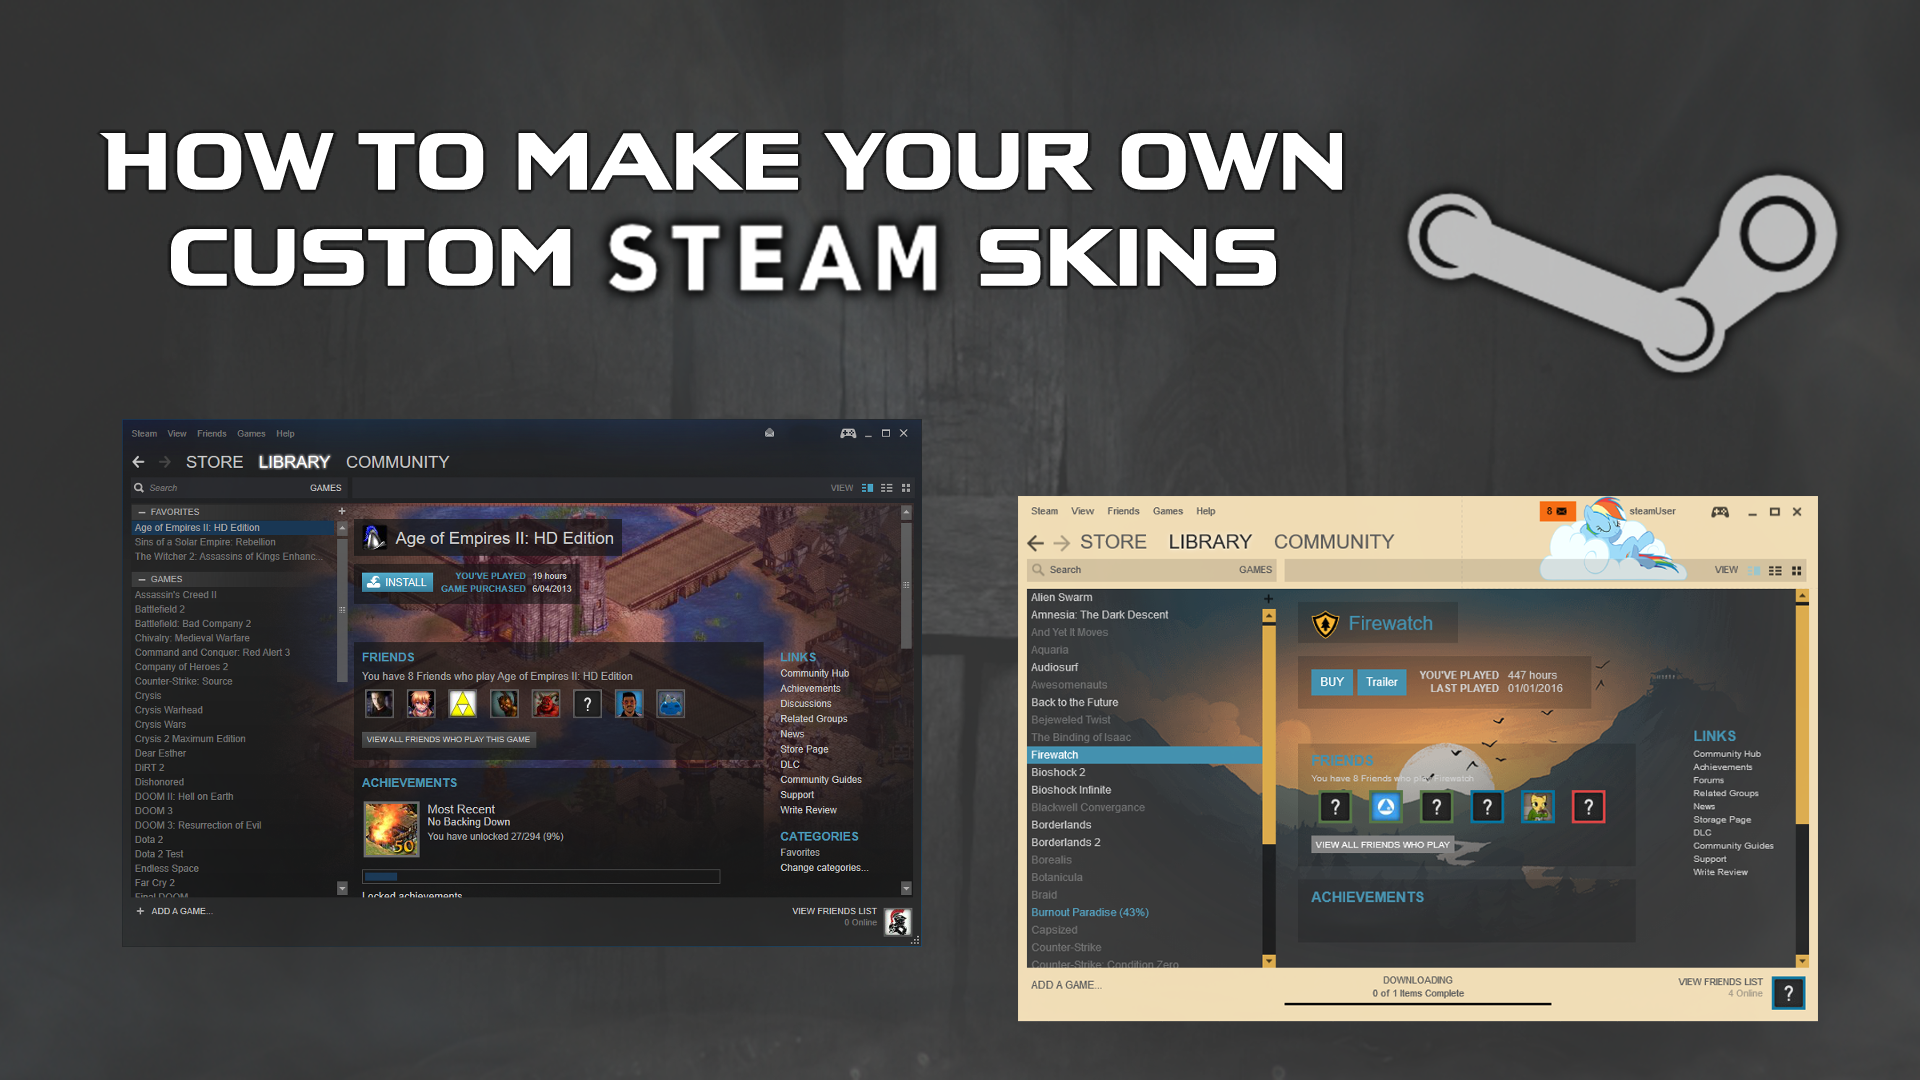
Steam has been around for a very long time, having always stuck to its dark type theme in the same way Facebook keeps its traditional blue and white, which is fine for most of us. However, If you want to change your STEAM skin to something a little more “you” we’ll show you how.

How to Change VLC Media Player Skins.
Anyone who enjoys playing games on their computer will have undoubtedly heard of or used STEAM at some stage. If you haven’t, you need to do a quick Google search and see what you’re missing out on. Long-term users of Steam will know it has had a very similar interface and color scheme throughout its existence, what you may not know though, is that you can make your own custom Steam skins to complement your computer color scheme.
How to Make Your Own Custom Steam Skin.
Thanks to the Steam Customizer tool, you can automatically generate custom skins without the complexities of knowing any graphic design and coding techniques. The Steam customizer tool can be found here:
Once you have made your way to the above website, you can create your own skin from scratch or browse and download skins that have been created by other users. This can be done by choosing either Explore or Create from the starting page. As it's possible to explore the themes on offer for days, this guide will get straight into Creating themes.

You will now be confronted with a new screen showing you a Customisation Wizard. On this page, you will be able to make changes to nearly all of the colours on the Steam interface, including the friends box and chat screens. Something you won’t be able to change however is the layout of the interface.
From the sidebar on the right, you can select an item to customise: Client (Main Window), Friends Box and the Dialog box. In the Main UI styles, you can adjust the main colours and text associated with the design using three fields:
- Font face - Adjusts the text in the whole interface of Steam.
- Primary colour - Adjusts the primary colour of the entire outside interface.
- Secondary colour - Changes the secondary colours for the minor elements such as bar selections.

The menu below, which shows Client Styles, allows for even more adjustments to colour, here you can adjust the colour for the rest of the menus, tabs, and backgrounds the first section missed. You can also add your own custom logo with the option Right logo. This allows you to change the image displayed in the upper right corner of the Steam client. Clicking on this option, you can choose one of several ready-made pictures or insert your own graphics. (Just make sure they are in PNG format)

After you insert a graphic, you can change its size and move it into position. The image will be automatically cropped to fit in with all the other items on the interface. The last option Misc Options has a few more minor things you can change colour wise.
When you have spent some time getting your theme sorted and are ready to use it, the next option is to download your skin. To do this, click on the button Download Skin. (It’s the big green one you can’t miss it). Your skin will be downloaded to whatever location you wanted to save it to.
Installing Your Custom Steam Skin.
To do this, you will have to download a small program called the Steam Customizer Tool. This is the official tool from the service of Steam Customizer and lets you install new skins downloaded from their site. The tool also recognises the existing skins that have been installed from other sources.
Download Steam Customizer Tool
When you have downloaded and installed the tool, you won’t even need to open it. Simply double click on the skin file you have downloaded and it will install itself on Steam for you. Just make sure that before you do so, you have Steam completely closed. (Not just minimised to your system tray) It only takes a few seconds to install. After this, you can launch Steam once more. Your new skin will be set as default and launch every time you open Steam.
You can use the Steam Customizer Tool whenever you please to change to any of the skins you have downloaded. Simply launch it and select the skin from the folder you have saved it in.

