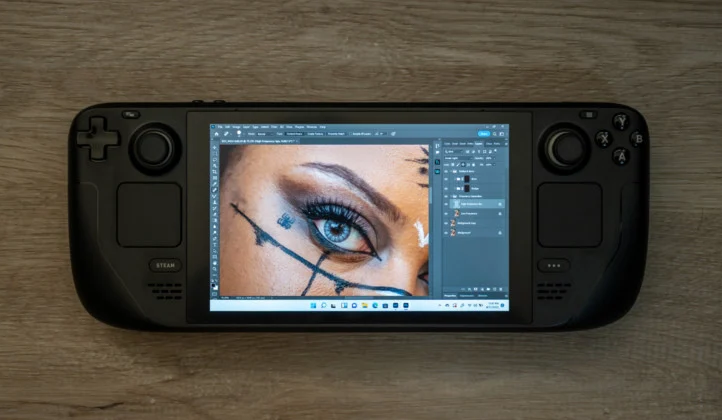
If you currently own a Steam Deck and have it set up with a dual boot Windows 10 or 11 operating system you can actually use it for a lot more things than just gaming. With a simple dock, it's basically a fully fledged laptop capable of anything you can do on a PC, including creative things like video editing and even using Photoshop. If you haven't configured your Steam Deck to dual boot to Windows this guide will show you how as well as how to install and use CapCut.

Takeaways:
- Can you install and use CapCut on Steam Deck?
- How do you get CapCut on Steam Deck?
Table of Contents
Steam Deck Specifications: What Makes It Capable for Video Editing?
For the price, Steam Deck rivals a lot of entry and even mid range laptops so it can quite easily run video edting tools like CapCut and even Davinci Resolve. But you will need a dock.
- Processor: Custom AMD APU featuring a Zen 2 CPU (4-core, 8-thread) running up to 3.5 GHz
- GPU: AMD RDNA 2 with 8 compute units, offering up to 1.6 TFLOPS for robust graphics performance
- RAM: 16 GB LPDDR5, ensuring smooth multitasking and adequate memory for running resource-intensive applications like CapCut
- Storage Options: 64 GB eMMC, 256 GB NVMe SSD, or 512 GB NVMe SSD, with microSD card support for additional storage space
- Display: 7-inch 1280 x 800 resolution (16:10 aspect ratio) with 60 Hz refresh rate
- Battery Life: 40 watt-hour battery with varying usage times depending on the load, including creative tasks
- Operating System: Ships with SteamOS 3.0, based on Linux, but can be configured to dual-boot Windows 11
While the core specs are good, it's useless without a couple of other things listed below.
What You Need to Install CapCut on Steam Deck
- A Steam Deck configured to dual-boot Windows 11
- A docking station to connect your Steam Deck to a monitor for easier navigation
- A mouse and keyboard for more precise control (optional but highly recommended)
- The Windows version of CapCut installer
If you haven’t installed Windows 11 on your Steam Deck yet, it’s the first step. SteamOS is based on Linux, and while you could install CapCut on it using emulators or compatibility layers, it’s far easier and more reliable to work directly within Windows. Fortunately, installing Windows on your Steam Deck is a fairly straightforward process. Check out our guide to dual-booting Windows on the Steam Deck to get started.
Installing CapCut on Your Steam Deck (with Windows 11)
Once you’ve booted into Windows 11 on your Steam Deck, the process to install CapCut is much like installing it on any other Windows device. Here's how you can do it:
-
Visit the official CapCut website or any trusted source where you can download the Windows installer for CapCut. Ensure you’re getting the latest version of the software for compatibility.
-
Once the installer is downloaded, open it, and follow the on-screen prompts. The installation process should be familiar if you’ve installed software on Windows before.
-
Once the installation finishes, CapCut will be ready for use on your Steam Deck. You can find it in your Start Menu and launch it from there.
-
Connect Dock, Keyboard, and Mouse: For a smoother editing experience, we strongly recommend using a dock to connect your Steam Deck to a monitor, as well as using a keyboard and mouse. While it’s possible to use the touchscreen, editing will be much more cumbersome without the proper peripherals.
Optimizing CapCut for the Best Experience
As CapCut doesn't really have much behind the scenes (compared to Davinci Resolve and Premiere Pro) it will automatically configure itself to work on most Windows devices, including your Steam Deck. There isn’t much manual tweaking required to get it up and running. However, one thing to keep in mind is that the Steam Deck’s built-in controls, touchpads and buttons aren’t optimized for video editing. This is why using a dock is pretty much non negotiable. With a mouse and keyboard setup, you’ll be able to have the full PC experience.