If you are trying to connect your laptop or even desktop to a monitor using a USB-C to HDMI or USB-C to Display Port cable but are constantly having issues with your monitor not being detected or only being detected sometimes. This article will guide you through several troubleshooting steps you can use to fix USB-C Display detection issues on Windows 10 and 11.

Takeaways:
- USB-C Displays not being detected on Windows 10, 11.
- Learn how to fix USB-C connected displays not showing (HDMI & Display Port)
Table of Contents
How to Fix USB-C Displays Not Detected on Windows 11
First off, I want to start by saying that the most likely cause of this problem is a bad cable. If you're using a cheap cable from Aliexpress, Temu or somewhere similar this is probably the cause of the issue. Those cables are cheap and nasty and seem to have a 50/50 chance of working. However, if you're confident the cable isn't the issue you can start working your way through the steps below.
Restart your Computer (There's a bug)
Just recently I noticed a bug on Windows 11 (I'm not sure about Windows 10) that causes monitors connected via a USB-C cable not to turn back on if your computer has gone to sleep. Once your system goes to sleep the monitor usually won't come back on until you restart your device. So you might want to increase the amount of time it takes for your screen to turn off if you're using a USB-C cable.
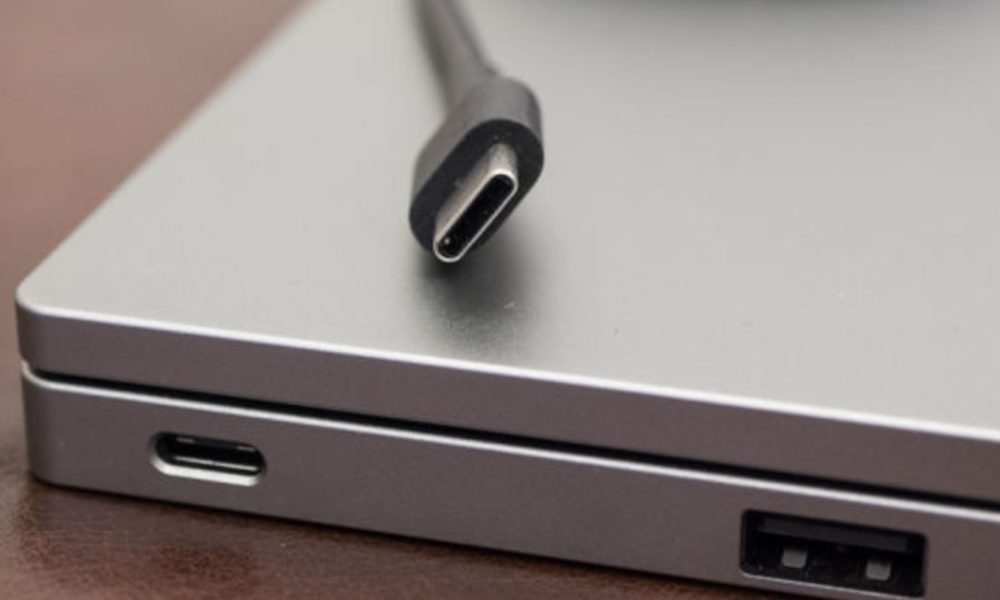
Check Physical Connections
Make sure all connections are secure and free from damage.
- Disconnect the USB-C cable from both the monitor and laptop.
- Inspect the cable and ports for any visible damage.
- Reconnect the cable securely into both the laptop and monitor.
Update Display Drivers (Clean Install with DDU)
Outdated or incompatible drivers can cause display detection issues. Update your drivers to the latest version.
-
Download Display Driver Uninstaller
- Download the latest graphics drivers for your hardware, then disable your Internet connection.
-
Open it then select the option to remove GeForce Experience (GFE) if prompted. (Remove the AMD software if you are using AMD)
-
After the process is complete, restart your computer.
-
Reinstall your graphics drivers, ensuring your internet connection is re-established to prevent Windows from automatically installing generic drivers.
-
After reinstalling your drivers, re-download GeForce Experience and update your drivers as needed. If the issue persists, repeat the process.
Use a Different USB-C Port
If one USB-C port isn’t working, try switching to another available port.
- Disconnect the display from the current USB-C port.
- Connect it to a different USB-C port on your laptop or docking station.
Try a Different Cable or Monitor
Faulty hardware can prevent the display from being detected.
- Try using a different USB-C cable to connect the monitor.
- If possible, connect a different USB-C monitor to your laptop to see if it gets detected.
Disable and Re-enable the USB-C Port
Resetting the USB-C port can help restore its functionality.
- Right-click on Start and select Device Manager.
- Expand the Universal Serial Bus controllers section.
- Right-click on USB Root Hub (USB-C) and select Disable device.
- After a few seconds, right-click and select Enable device.
Undo or Reinstall the Most Recent Windows Update.
Some Windows updates may not be fully compatible with USB-C displays.
- Type Control Panel in the Windows search bar and press Enter.
- Select Programs > Uninstall a program.
- Click on View installed updates on the left side of the window.
- Uninstall the most recent update by following the on-screen instructions.
- Consider pausing updates temporarily to avoid reinstallation of problematic updates.