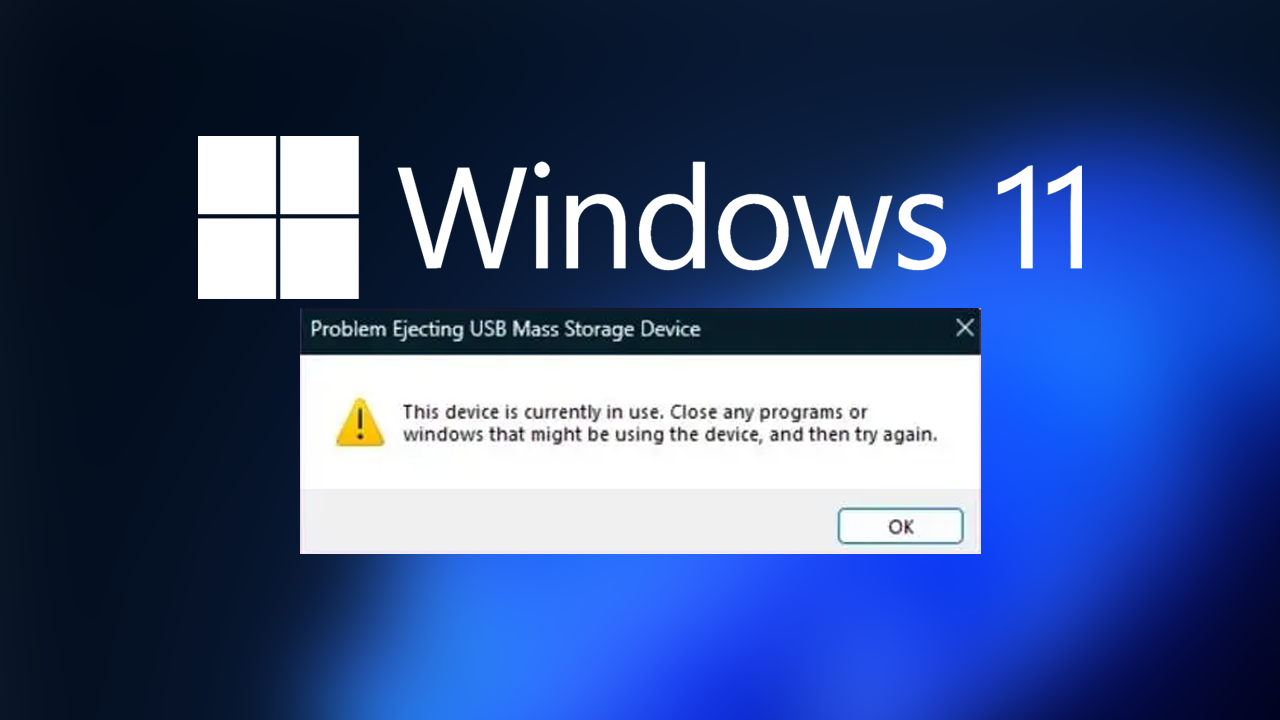
If you are trying to use an external drive or even your phone on Windows 11 but keep getting the "This device is currently in use". This article will guide you through quite a few different things you can do to solve this super common and super annoying error message. More often than not it shouldn't take more than a couple of minutes to fix.

Takeaways:
- Learn how to fix "This device is currently in use" error on Windows 11.
- Windows 11 keeps showing "This device is currently in use" when trying to access external drives.
Table of Contents
How to Fix the This Device is Currently in Use Error When Ejecting an External Drive on Windows 11
For most people, the quickest and easiest way to solve this error message is to simply restart your computer. 99% of the time this error message will instantly go away. But if that doesn't work, you can work your way through the rest of the steps shown in this guide.
Note: If you keep getting this error message when your Android phone is connected to your computer restart your phone as well.
End Any Unnecessary Background Processes
Sometimes, background tasks can cause problems like this so make sure you close anything that may be using data from one of the devices you want to eject.
-
Press Ctrl + Shift + Esc to open Task Manager.
-
Go to the Processes tab and look for any processes linked to the drive (e.g., backup software, media libraries, or cloud-syncing apps).
-
Right-click any relevant processes and select End Task.
Restart Windows Explorer (If you are too lazy to Restart Windows)
Windows Explorer can occasionally lock the drive:
-
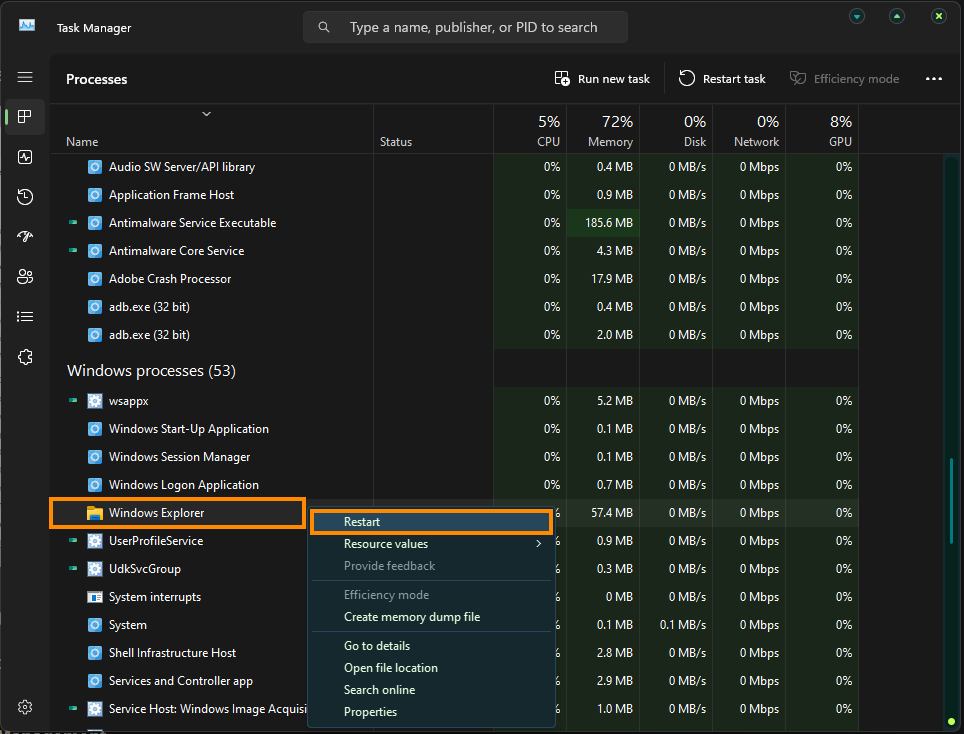
Open Task Manager using Ctrl + Shift + Esc.
-
Click More Details if the basic view is shown.
-
Locate Windows Explorer, right-click it, and choose Restart.
-
Wait for the interface to refresh, then try ejecting the drive.

Eject the Device Using Disk Management
Disk Management is a tool that you've probably never used but it is quite helpful in situations like this one.
-
Press Win + X and select Disk Management.
-
Locate your external drive in the list of drives.
-
Right-click the drive and select Eject.
-
If the Eject option isn’t visible, select Offline instead to temporarily disconnect the drive.
Use Safe Mode
This probably won't work but it's worth trying anyway.
-
Open Settings > System > Recovery.
-
Under Advanced Startup, click Restart Now.
-
After restarting, navigate to Troubleshoot > Advanced Options > Startup Settings, and click Restart again.
-
Select 4/F4 for Safe Mode or 5/F5 for Safe Mode with Networking.
-
Try ejecting the drive in Safe Mode.
Disable File Indexing on Windows 11
File indexing may lock the drive:
-
Open File Explorer and right-click the external drive.
-
Select Properties from the context menu.
-
Under the General tab, uncheck Allow files on this drive to have contents indexed in addition to file properties.
-
Click Apply, then choose Apply changes to drive X: subfolders, and files.
-
Wait for the changes to complete and attempt safe ejection again.
