System Restore is one of the most important tools on Windows operating systems, and is designed to help you in the most terrifying of moments. However, it’s not flawless, and sometimes, it may get stuck loading indefinitely before displaying error 0x80042414. But there are also quite a few other errors you may also get, all of which this guide will also help solve.

Takeaways:
- Help! I can't get System Restore to work it keeps giving error 0x80042414
- Solutions for System Restore Error 0x80042414 on Windows 11
Table of Contents
How to Fix System Restore Error 0x80042414 on Windows 11
So! Before you jump in and start working through the steps below in a panic, restart your computer in Safe Mode, then try to use the System Restore tool exactly as you normally would. This should allow the process to complete without any background processes interrupting it. If this doesn't work you'll have to go through all the other steps below.
Restart the Volume Shadow Copy Service (VSS)
One potential fix is to restart the Volume Shadow Copy Service, though results can vary.
- Press Win + S, type Services, and press Enter.
- Locate Volume Shadow Copy in the list.
- Right-click it and choose Restart.
- Double-click it to access Properties.
- Set Startup type to Automatic, then click Apply and OK.
- Repeat these steps for Microsoft Software Shadow Copy Provider and Windows Management Instrumentation.
- Restart your PC and attempt to create a restore point again.
Run SFC and DISM Scans
Running built-in system scans often resolves various System Restore issues.
- Open Command Prompt as Administrator.
- Enter the following command and hit Enter:
sfc /scannow

- Allow the scan to complete. If Windows finds issues, it will attempt repairs.
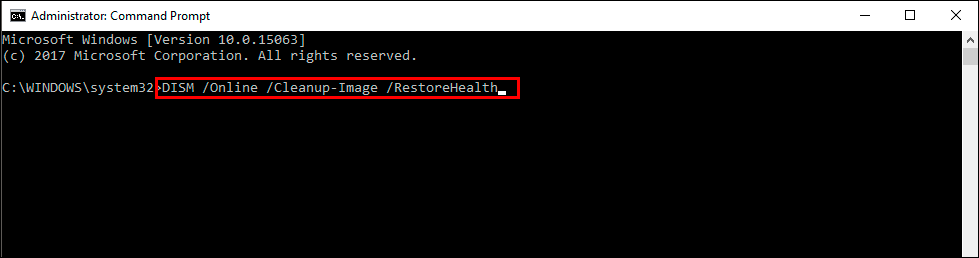
- Next, run these DISM commands one by one:
DISM /Online /Cleanup-Image /CheckHealth
DISM /Online /Cleanup-Image /ScanHealth
DISM /Online /Cleanup-Image /RestoreHealth
- Restart your PC and try using System Restore again.
Verify System Volume Information Folder Permissions
Incorrect permissions on this folder can cause restoration failures.
- Open File Explorer and go to **C:**.
- Right-click System Volume Information, then select Properties.
- Navigate to the Security tab and ensure the SYSTEM account has Full Control.
- Adjust permissions if necessary and click Apply.
- If the folder is hidden, open Command Prompt as Administrator and run:
cacls “C:\System Volume Information” /E /G Administrator:F
- Press Enter and retry System Restore.
Temporarily Disable Third-Party Antivirus & Backup Software
Security software can interfere with System Restore. Try disabling it temporarily.
- Turn off your third-party antivirus or backup software.
- Retry System Restore.
- If it works, consider switching to a less intrusive security solution.
Run a Disk Check (chkdsk)
Corrupt file systems can prevent successful restores. A chkdsk scan may help.
- Open Command Prompt as Administrator.
- Enter the following command and press Enter:
chkdsk c: /f
- If prompted, type Y, close the window, and restart your PC.
- Allow the scan to finish before attempting System Restore again.
For SSDs, use:
chkdsk c: /f /r /x
Replace c: with the correct drive letter if necessary.
Clear Old Shadow Copies
Sometimes, outdated shadow copies take up space and interfere with new restore points.
- Open Command Prompt as Administrator.
- Run the following command:
vssadmin delete shadows /all
- Restart your PC and create a fresh restore point.
Recreate System Restore Points
If your restore points are corrupted, deleting and recreating them may help.
- Search for Create a restore point in Windows search and open it.
- Under the System Protection tab, select Configure.
- Ensure Turn on system protection is enabled.
- Click Delete to remove all existing restore points.
- Create a new restore point and retry System Restore.