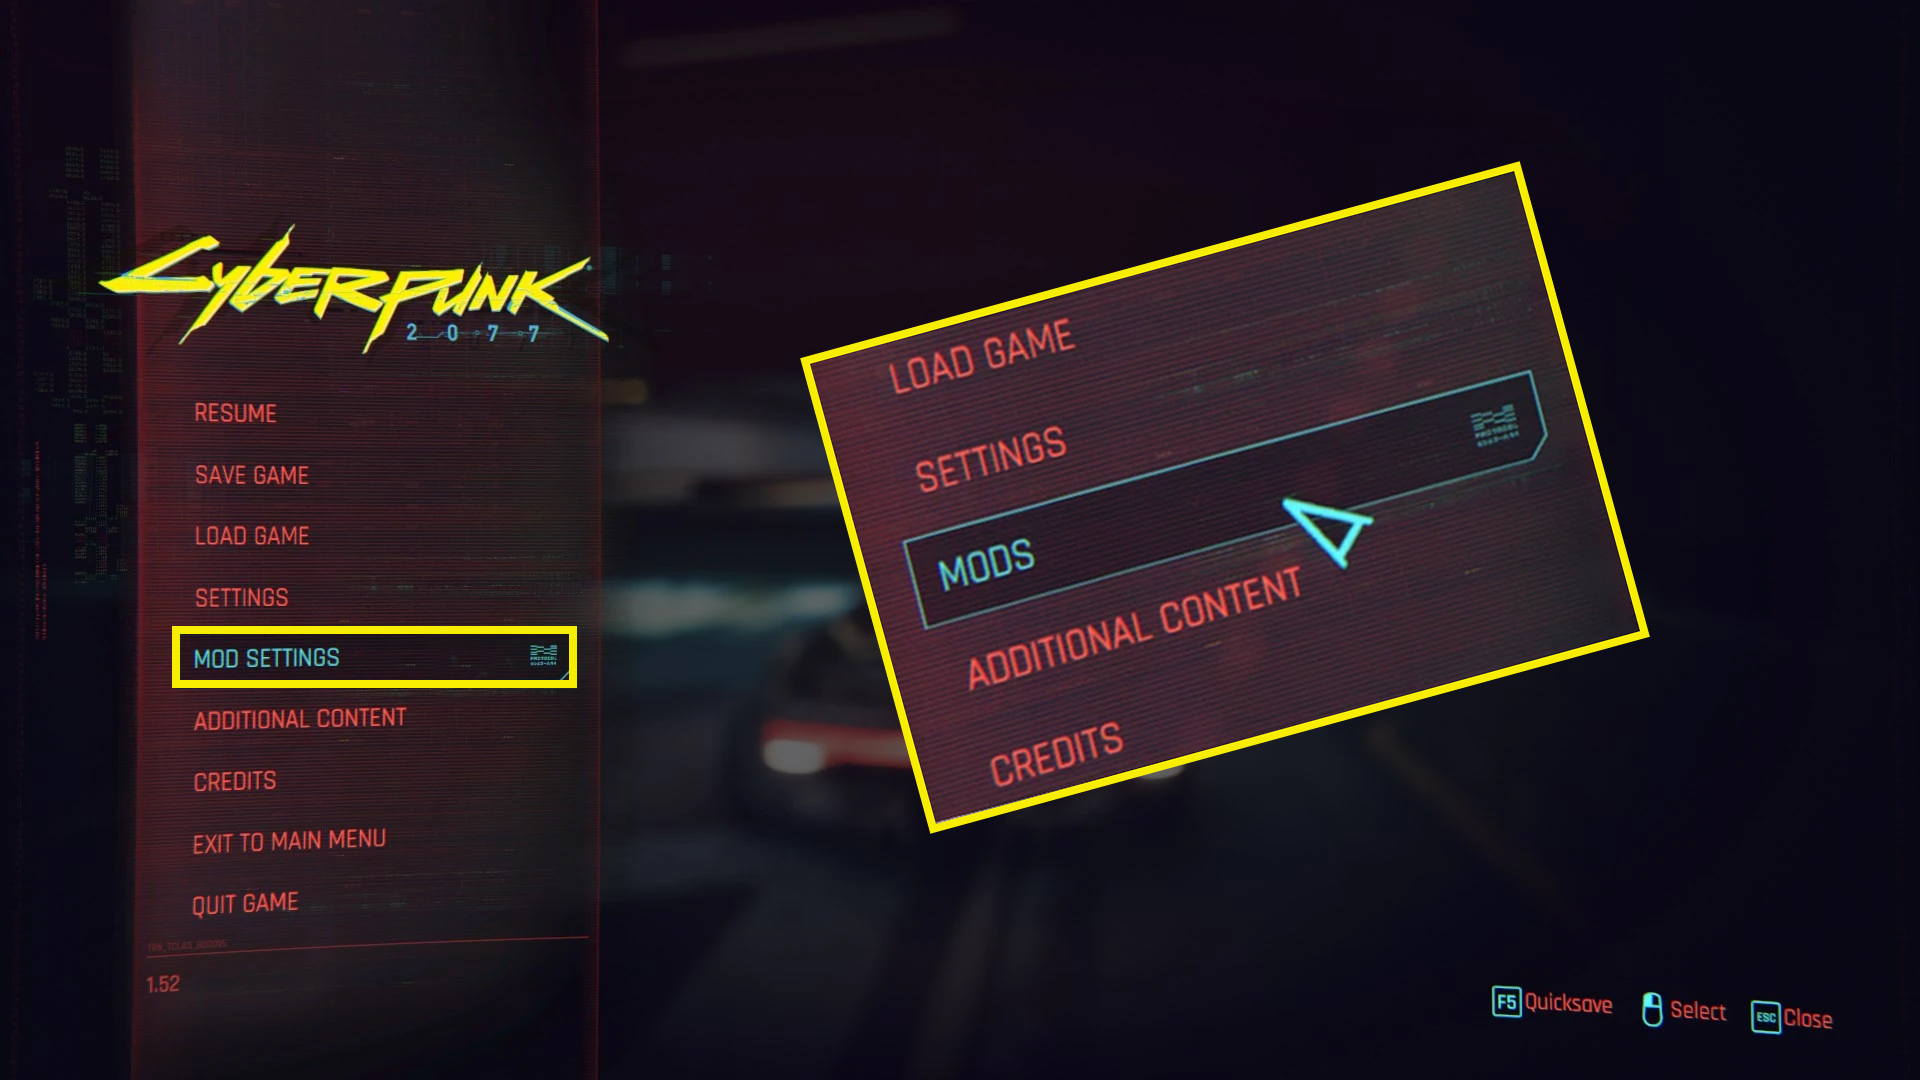
If you are trying to mod Cyberpunk 2077, you're more than likely aware that each update brings the potential for mod-breaking changes. Even the smallest updates can sometimes render mods useless, leaving you without the mod settings or mods option in Cyberpunk 2077. The good news is that there are some solutions available to help you get your Cyberpunk mods up and running again. In this troubleshooting guide, we'll walk you through the steps to restore your modded gameplay.

Table of Contents
Related: How to fix Cyberpunk Runtime Error: Microsoft Visual C++ Runtime Library - Runtime Error!
Cyberpunk 2077's launch was marred by issues, making it one of the most infamous game releases in history. Nevertheless, the game has steadily improved and evolved into a fantastic experience well worth playing. While the base game offers a decent experience, incorporating mods can elevate it to extraordinary heights, transforming your entire gameplay experience and making the game exactly what it was promised to be at release.
Typically, as with all modding, modding Cyberpunk 2077 does come with a major flaw. Especially if you are playing on Steam or other platforms with automatic game updates. Although these updates are less frequent now, they can and do still disrupt certain mods, causing them to malfunction or even lead to game crashes. If you can you should disable automatic game updates and manually update the game only after ensuring that your favourite mods are compatible with the latest version.
There is another major issue though. All mods working perfectly, without the option to customise them. This happens when the Mods Settings and Mods options are missing from the Cyberpunk 2077 main menu. Which is exactly what we are going to fix in this guide.

If you haven't managed to disable game updates or have started modding the game after a recent update there are steps you can take to get them working again. However, keep in mind that if you have an extensive collection of mods, you might need to consider switching to a different set of working mods until all your preferred mods have been updated. It's a situation where achieving perfect compatibility with all mods simultaneously may require some patience until the necessary updates are available.
How do you fix the Mod Settings option missing from the Cyberpunk 2077 menu? No Mod Settings in Cyberpunk 2077.
So! The first thing you need to check for are mod updates. So head on over to the place you got your mods and download any updated mods. This will probably be Nexus mods and you probably using the Vortex mod manager.
Note: You should also make sure the primary mods responsible for this Mod Settings and Native Settings UI are installed and updated.
- If this is the case, open Vortex on your computer then click the Update icon in the upper left-hand corner of the screen. If you have quite a few mods, this will take some time to process. If any updates are detected, you’ll get a notification. Some will auto-update, while others will require a manual update.
- To manually update a mod, just right-click on the mod and select view on Nexus Mods, then download the latest file.
- When checking for and updating mods, pay close attention to the primary mods (dependencies). If a core mod is broken you can expect a lot of other mods to fail.
If you are still having problems with things being missing after all of this make sure that you have the latest versions of the following mods installed Red4ext and ArchiveXL, Codeware and Input Loader installed. Make sure they are up to date.

