Blue screen of dead (BSOD) error messages are probably the worst kind of error messages you will come across on your computer as they always come out of nowhere and crash you back to the stone age pretty quickly. Thankfully they also usually have simple enough fixes so follow along as we guide you through several steps you can use to solve io1 Initialization Failed Blue screen Error on Windows 10 and 11 devices.

Takeaways:
- Learn how to fix io1 Initialization Failed Blue screen Error on Windows.
- Why does Windows keep crashing because of io1 Initialization Failed Blue screen Error?
Table of Contents
How to Fix io1 Initialization Failed Blue screen Error BSOD
Below you'll find all of the known solutions for fixing io1 Initialization Failed blue screen error on Windows 10 and 11 PCs. As with most Windows issues, particularly BSOD errors you're going to have to work through multiple solutions before you find the working one that solves your problem.
Run the SFC Tool Followed by the DISM Tool.
- First, type CMD into the Start menu, then right-click Command Prompt and choose Run as administrator.
- When Command Prompt opens, type the following command and press Enter:
sfc /scannow

-
It may take some time to complete, so be patient. If any errors are found, they should be repaired automatically. If it doesn’t complete properly, restart your computer in Safe Mode and repeat the process.
-
Fix Corrupted System Files Using DISM Tool
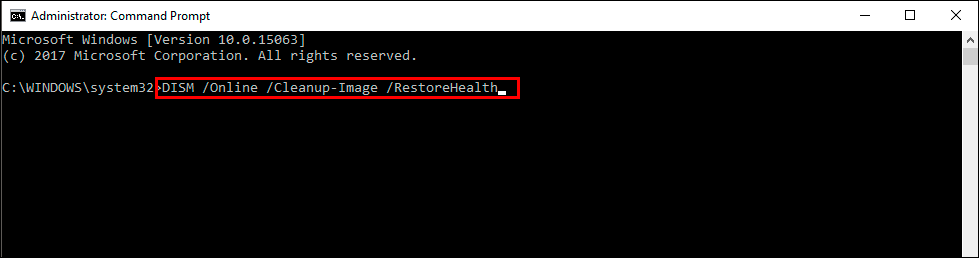
If the SFC tool returns an error message, open Command Prompt as Administrator, then enter the following commands in order:
DISM /Online /Cleanup-Image /CheckHealth
DISM /Online /Cleanup-Image /ScanHealth
DISM /Online /Cleanup-Image /RestoreHealth
-
After a system restart, everything should be back in working order. If you’re still having issues with ksecdd.sys crashing on Windows 11, it might be time to reinstall Windows 11 and start from a clean slate.
Uninstall and Reinstall GPU Drivers Using Display Driver Uninstaller (DDU)
Whenever you have any kind of graphics issue, this is the first and most important thing you need to do. Clean installing drivers solves most issues without much extra work and chaos.
- Download Display Driver Uninstaller and the latest GPU driver you want to use.
-
Disable your internet connection.
-
Run DDU and select the option to remove GeForce Experience (GFE) if prompted (a similar message will appear for AMD Graphics).
-
After the process completes, accept the restart request and let your computer restart.
-
Install the driver software and re-establish your internet connection. This prevents Windows from installing generic drivers automatically.
-
Restart your computer.
Update Windows and Update all your Other Drivers.
- If you’re a gamer, you understand how important drivers can be to performance. Even if it seems obvious, not everyone likes to let Windows and drivers update automatically.
-
Press Windows Key + R on your keyboard to open the Run tool.
-
Type devmgmt.msc into the window and press Enter.
-
You will now see all the drivers on your computer listed in a new window.
-
Right-click the one you wish to update and select Update driver software. Follow the instructions given by Windows.
You should be able to make an educated guess on which drivers are causing problems on your computer. When in doubt, start with the main ones such as graphics, networking, etc.
Reset Your Windows 11 Installation Using Recovery Tools
If nothing listed above has resolved the problem, you may need to reset your computer to a fresh installation. This will solve the problem 100%, though it is a lot of work.
-
Open Settings > System > Recovery > Reset this PC.
-
Choose the Keep my files option and follow the steps shown by Windows 11. It will take some time to complete, so ensure you have a couple of hours to go through the entire process.