If you are trying to change the Default app Windows 11 uses to open PDF files but can’t because any changes you try to make just don’t happen. This article will show you several different things you can do to solve the problem. There are several reasons this might happen, and just as many workarounds or fixes.

Takeaways:
- Solution: Can't Change Default PDF App on Windows 11
- Why can’t I change Default PDF apps on Windows 11?
Table of Contents
How to Fix Can't Change Default PDF App on Windows 11.
At this stage, this issue appears to be an update-induced issue that more than likely came from the last Windows update that was automatically installed on your computer. So that’s where we are going to start for this guide. You can follow the steps for that process right here.
Choose another app on your PC.
- Right-click on a PDF file.
- Select Open with > Choose another program.
- Now navigate to the following location (keep in mind that this may vary depending on your Windows and/or Adobe Acrobat version):
C:\Program Files\Adobe\Acrobat DC\Acrobat
- Scroll down to find Acrobat.exe (marked as an Application in the Type section).
- Click Open and then OK.
This is the quickest and easiest method you can use.
End All MSEdge.exe Instances in the Task Manager.
There’s a high chance Microsoft Edge is trying to hold on to exclusive PDF rights. Even when you don’t want it to.
- Press Ctrl + Shift + Esc on your keyboard to open the Task Manager.
- In the search bar, type Edge.
- Right-click on every Microsoft Edge-related process and select End Task.
- Now set the default PDF app as usual.
Update the App or Program you are Trying to Use.
Depending on the app you are trying to use you should check to make sure everything is up to date. While this probably isn’t going to solve the problem is worth checking just in case there was an issue in the current version that may be causing this problem.
Select the default app for PDFs in Windows settings.
- Right-click on Start and pick Settings.
- Go to the Apps section.
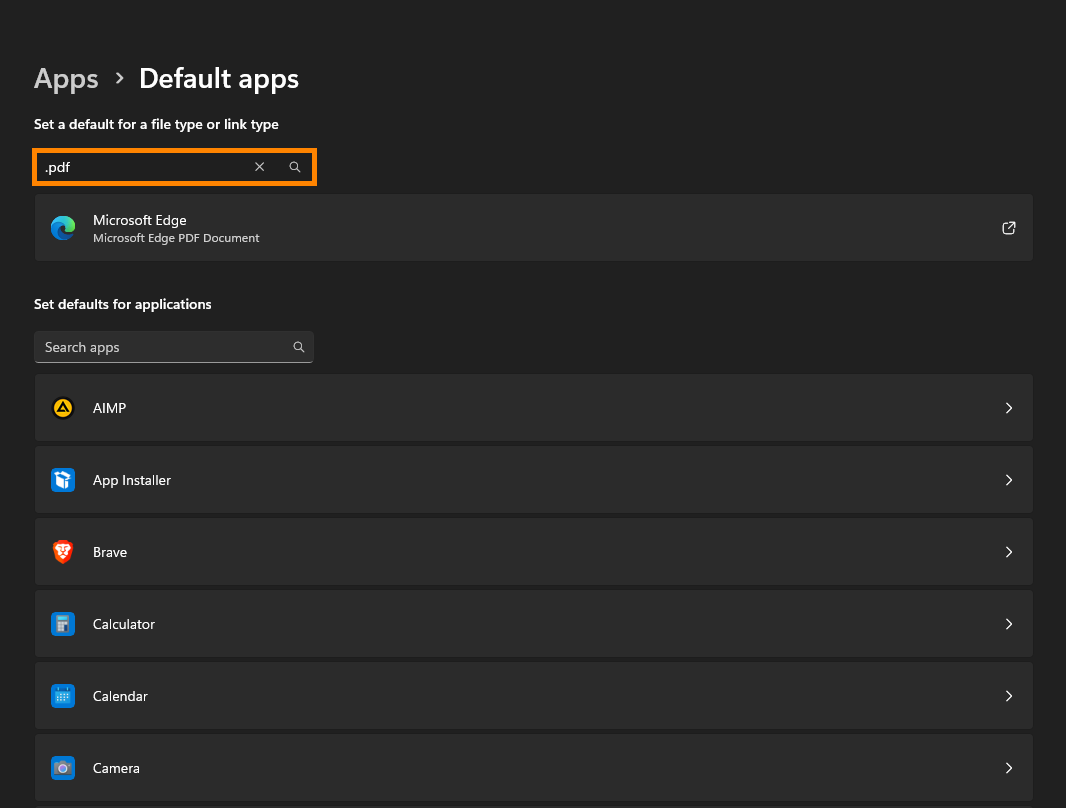
- Pick Default apps.
- Here, you will find a list of apps – select the one of your choice, such as Adobe Acrobat.
- Find the .pdf extension and click on the default app.
- Select the app of your choice, such as Adobe Acrobat.
- Pick your preferred app from the list and click Set Default.

Delete the PDF entry in the Windows registry.
- Type regedit in Windows search and hit Enter.
- When the User Account Control window shows up, click Yes.
- Navigate to the following location:
HKEY_CURRENT_USER\SOFTWARE\Microsoft\Windows\CurrentVersion\Explorer\FileExts\.pdf
- Right-click on .pdf and select Delete.
- Close the Registry Editor and try to set the default app again.
If you can't delete this entry due to the “Cannot delete .pdf: Error while deleting key” error, please follow these steps:
- Type cmd in Windows search.
- Right-click on Command Prompt and select Run as administrator.
- Agree to make changes by clicking Yes.
- Copy and paste the following commands, pressing Enter after each:
sc.exe config UCPD start= disabled
schtasks.exe /change /Disable /TN “\Microsoft\Windows\AppxDeploymentClient\UCPD velocity”
- Restart your PC and then try to delete the registry key.
